Coleco Game Repair (Pac Man, Ms. Pac Man, Donkey Kong, Frogger
& Galaxian)
Here is a complete tear-down of a Coleco Pac Man game. The other Coleco games
of the same design are almost
identical (with the main difference being slightly different controllers). If
you suspect there's a problem with your game
that you can fix yourself, here's how to get into it and what to look for:
Standard disclaimer: These are images and instructions
for something I did or might do to my games. Messing with
the insides of these can cause mild electrical shocks and you could permanently
damage the game. If you actually
follow any of these instructions, you do so at your own risk.
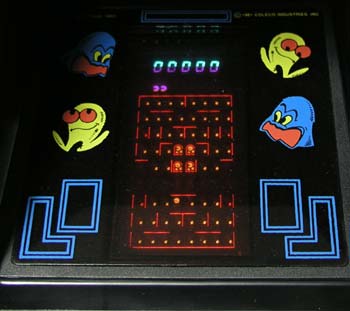 |
Well, as you can see from the picture to the left, my Pac Man game
has a small problem. It was working fine when I set it up at a play-with
table at Classic Gaming Expo 2005,
but at some time during the show it developed the problem seen here: Nothing
on the 6th row of the game field would display (dots, ghosts, Pac Man
or the maze itself). Knowing a little about these games, I figured it
would be an easy fix, so I used it as my example for the repair section
of the Coleco games. There will be specific examples pertaining to the
problem seen here, but I will also explain where other common problems
might occur. |
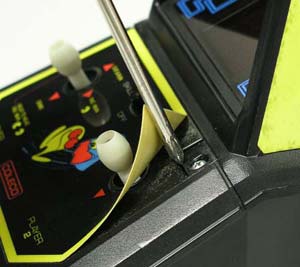
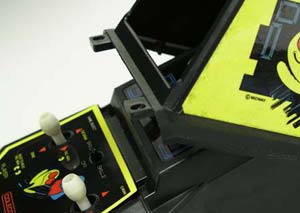
| First of all you just have to get the game open, and this has proved to
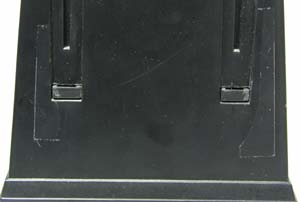
be a challenge for people not familiar with opening the Coleco games. Do
NOT attempt to un-snap the cover from the apparent clips on the back of
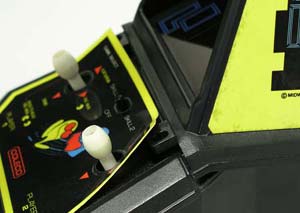
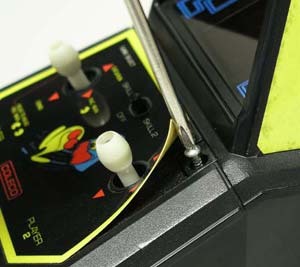
the game (seen here). There are two screws holding down the top hood of
the game, and they are located under the upper left and right corners of
the control panel sticker. Fortunately, this sticker is made of heavy plastic,
so it's easy to peel back without damaging it. |
 |
|
 |
|
 |
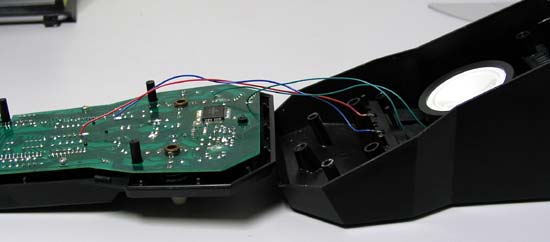
Now that you have the hood off of the game, remove the 5 visible screws
from the bottom of the game, and you will be able to lift the whole inside
of the game up from the top. Gently flip it over (watching the wires, you
don't want to pull any loose), and lay the screen/controls portion of the
game face down:
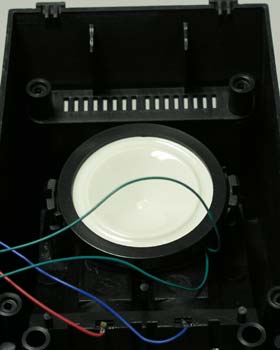
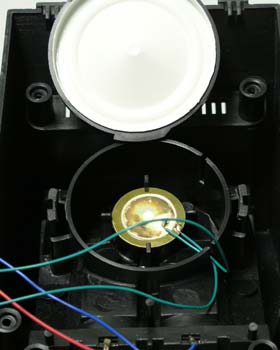
The large white disc in the center of the base is the 'speaker.' This is
actually a plastic cone that sits directly on top of a small piezo buzzer.
Without the cone, these games are significantly quieter (in fact, if you
let the buzzer just hang from the wires while the game is running, you might
think you've lost sound from the game). The cone can be easily removed by
unscrewing the black ring that holds it down and just lifting it off revealing
the buzzer underneath. (Sometimes the black ring is glued or taped down,
so check for that if it doesn't come off easily.) Usually, there's nothing
else holding down the buzzer, so it can be easily lifted out.
Also, note the location of the red and blue wires in the first picture.
These are the positive and negative battery terminals (respectively). The
next page will show where they connect to the main board. Obviously, if
either of these is broken, your game will not come on. |
Now that we have the game partially dis-assembled, we can start looking for
some obvious problems! NEXT PAGE
Back to Coleco home page.
Back to Handheld Museum Main Page.


